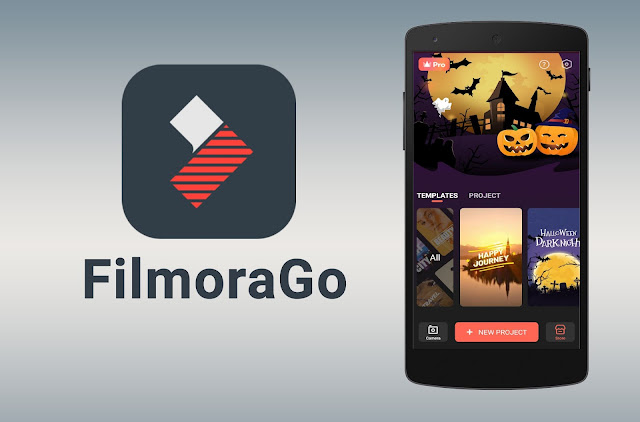
Filmora Go from Wondershare, in many application reviews, it often shows up in a top spot among the best free Android apps for video editing.
It allows you to create and edit videos quickly, with a simple and easy to use interface with all the essential tools like – clip trimming, filters, overlays, elements, text, picture in picture, and adding music. The app works well, and the load times are great even with bigger video clips.
Filmora Go has two main parts – Templates and Projects. We will cover all the basics of both of these.
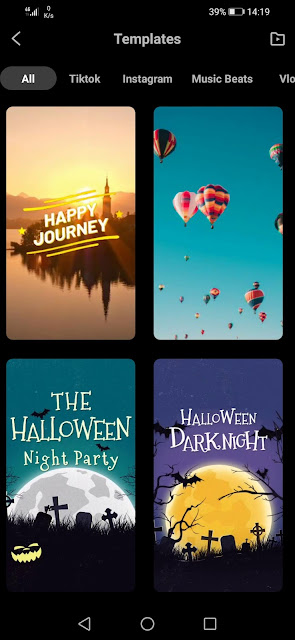
Templates
Templates are pre-made projects, with transitions, music, and titles, ready for you to just insert your videos. Your options here are limited, and the only things you can edit are the text and the clips playing. You can’t change the transitions, effects, nor background music.
It is possible to preview the template to give you an idea of what it is, and once you’ve made your choice, you then have to choose the clips you’d like to use. You’re shown how many clips you need at the bottom of the screen and the length for each clip. You cannot change the clips’ length, but you can change the section of the clip playing.
Projects
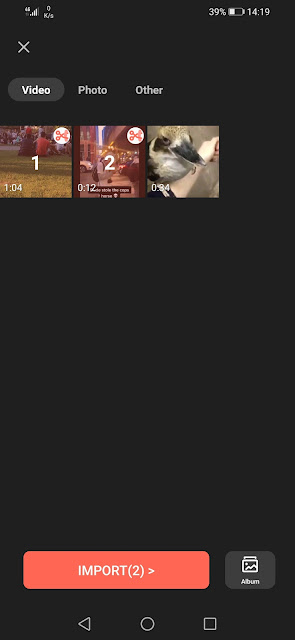
Here, in the Projects section, is where the full might of this app is showing up. If you want more control over your creation, you need to forego the templates and create a project from scratch.
First, you’ll need to select one or more clips you want to use. Even before importing them, you can do a simple edit and chose what part of each clip you want to use. Once you import your clips, all the tools you need can be found at the bottom of the screen, and they’re grouped into nine main menus, which, when tapped, are changing into the submenus. We will go over each one and give you a quick rundown.
Trim
Often when recording a video, you have a piece that you want to cut away. It is also useful to split your video into sections so you can edit each section separately. You can simply drag the timeline slider to the position you want and tap on the Split button to separate your video into sections. You can have as many sections as you wish.
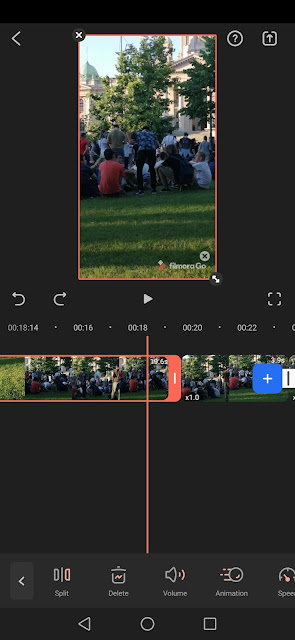
You can then delete, change volume, speed, add animation, copy, rotate or fade the section or the whole clip if you choose to do so by tapping the corresponding button.
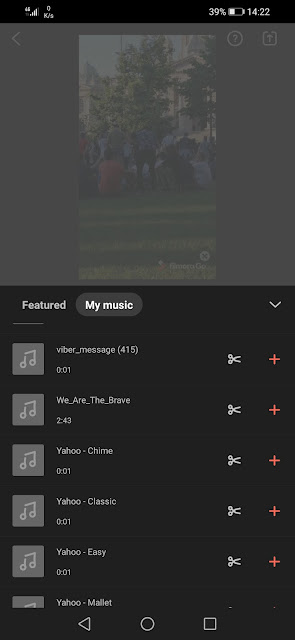
Music
Here you can add the music and sound effects to your project. You can use the music stored on your phone, use the ones supplied by Filmora Go, or use the Record function to record your voice. A cool little function is Extract Audio, where you can choose any video you have and extract audio from it, and add it to your project.
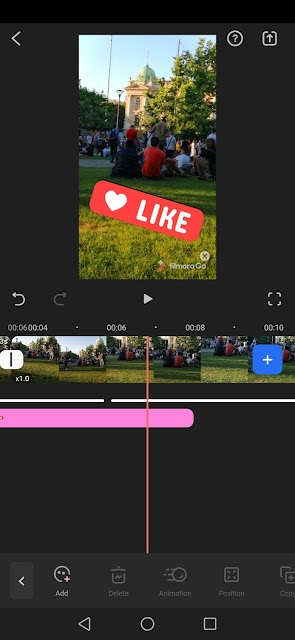
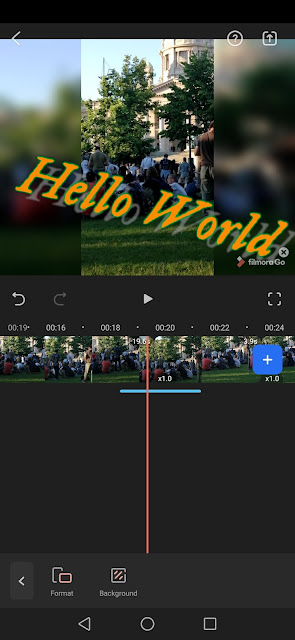
Text and Stickers
Adding text is a lot more powerful than it initially seems and includes the ability to alter the font and color, add a drop shadow or an outline, and even apply motion effects to it. We practically liked the ability to change its size, position, and rotation using simple gestures instead of doing it via menus.
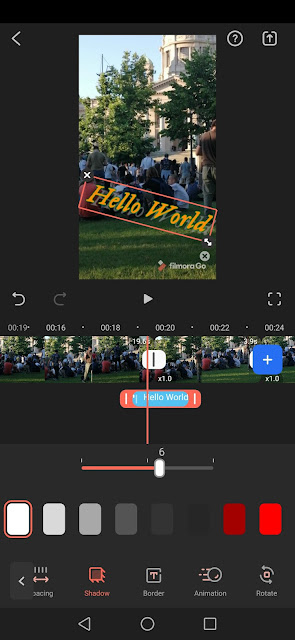
It’s possible to apply a bunch of animated stickers as well, although you have no control over their appearance, just their size and position on the screen. It would be nice if you could at least change or add text on some of them.
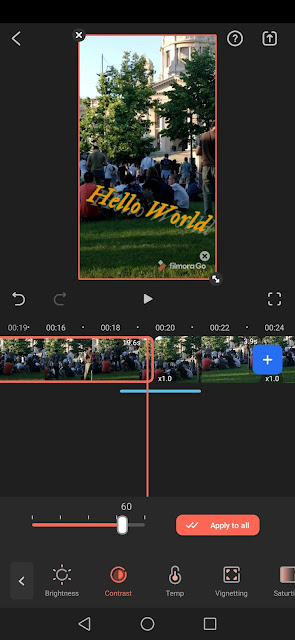
Filter, Effect and Adjust
Filters let you perform pre-determined color correction to a selected clip or your entire project. Unfortunately, you get only one for free (Landscape), and you have to pay for the other two (Cyberpunk and Black & White). Options here are minimal, but this is somewhere corrected in the Adjust menu. These tools allow you to tweak most color parameters on your clips, such as saturation, brightness, contrast, or clarity.
In the Effect menu, you are offered 12 different effects that are designed to distort your video in some way. A cool feature if it’s used correctly, but it can be a bit extreme sometimes.
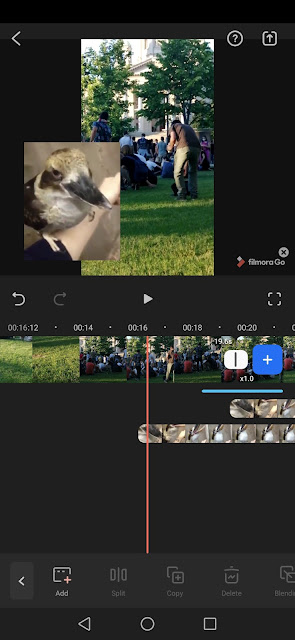
Picture in Picture (PiP)
Filmora Go lets you place pictures and videos over another video. You can then resize and reposition them however you want and anywhere on the timeline.
Canvas
The last option is Canvas – this is where you get to choose the overall format of your project. By default, this is based on the clips you’ve added, but you can alter that either by dragging the clip edges or by selecting pre-defined options.
If you select a format that doesn’t fit your video format, you will end up with black bars on the edges of your canvas. You can replace this either with a color of your choice, a blur effect, or a picture.
Exporting videos
Once you’re done editing your videos, you can share them on social media sites like Instagram, YouTube, and Facebook. Alternatively, you can save them on your phone or send them to your friends and family via messages, mail, or other available means.
One annoying thing is that if you are using the free version of the app, your clips will be watermarked with a small Filmora Go logo in the corner of the video and a big one at the end. Your exports will also be limited to the maximum resolution of 1280×720.
Conclusion
This is one of the best apps for video editing we used in a while. It has so many different settings that all work very well, and the fact that it’s free with no ads or video duration limits is amazing. The resolution restriction is no big deal, especially if you view your videos mainly on your phone. The inserted watermarks can be a problem for someone, but if we consider all we do get in a free package, we can overlook that.