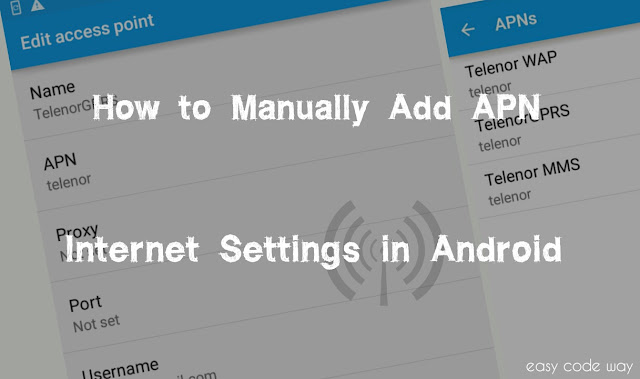
What is an APN?
APN stands for Access Point Name. These are the settings your phone read to set up a connection to the gateway between your carrier’s cellular network and the public Internet.
Okay! Let me explain this in easy way. Whenever you’ll turn ON your mobile data, it’s obvious that your phone will connect to the network provider and for that it must be given proper instructions. These instructions are given via APN. Access Point Name is used to connect with the correct secure gateway and only after this, your phone can determine the correct IP address and other important data. Now I hope that you’ve little bit understanding about these APN’s.
I have seen many people complaining about the Internet problem. Sometimes, even after turning ON the mobile data, there is no E symbol in the notification tab. This is quite normal in new phone/SIM card or if you’ve erased all phone data. The ultimate solution to this problem is to add the correct APN in your device and this is what I am going to discuss today. So lets begin now!
How to Add APN’s in Your Android Device
Most of time, your phone will automatically add these APN’s. Sound good? Hm. But that may not work for each network carrier. However, interesting thing is that you can manually add these Access Point Names in your Android device. Basically, there are 2 methods to do this. All of them are listed as follows –
1st – By Contacting Network Provider
It’s the easiest way to request an Internet settings for your device. Just call the customers care service of your network carrier and ask them for the Internet settings. After processing, they will send you few configuration SMS messages containing APN’s in it. Simply install all of them one by one and that’s it.
After above steps, turn ON the mobile data and check whether it is connecting or not. If it doesn’t work then reboot your system and try again. If everything would be fine then definitely it will work.
2nd – Manually Add Access Point Names
So above method doesn’t work for you? Hm. Don’t worry! You can manually add these Access Point Names as per your choice. Before moving to the steps, first find out the APN Internet settings for your network carrier. You can find them from their official website or by google searching. Otherwise, call the customer care number and ask them for the manual Internet settings. It look something like this (For this tutorial, I am giving Telenor/Uninor GPRS settings) –
| Name | Value |
|---|---|
Name: |
TelenorGPRS. |
APN: |
internet |
Username: |
gprs |
Proxy Address: |
(empty) |
Proxy Port: |
(empty) |
Simply note down all these values and then proceed with below steps –
- Open your Android device and unlock it. (Just kidding :p)
- Now move to “Settings > Wireless & networks > Mobile Networks” location.
- Under “Mobile Networks”, click on “Access Point Names” option.

- Here you’ll find all APN’s which are already installed in your device. To create a new one, click on plus button (+).

- After this, a new window will open. Now fill out all the APN Settings here.
Note: It is not necessary to fill each field. Only add those values which are provided by your network carrier and make sure to type them correctly. - To save this, click on option menu button (three dots or use external touch button, if available).

- From menu list, select “Save” option.
- Till now, you just created it. To make it active, mark the dot button next to the Access Point Name (see below picture for help) and you’ve done it.

Finally re-check your Internet connection and it should work this time. If same problem persists then reboot your phone and try again.
Also Read: How to use screen pinning feature in Android Lollipop
So In this way, you can manually add these APN settings in your android device. If you have any doubt or query regarding this topic, fell free to drop your views in below comment box. Stay Tuned! Love and Blessings!